

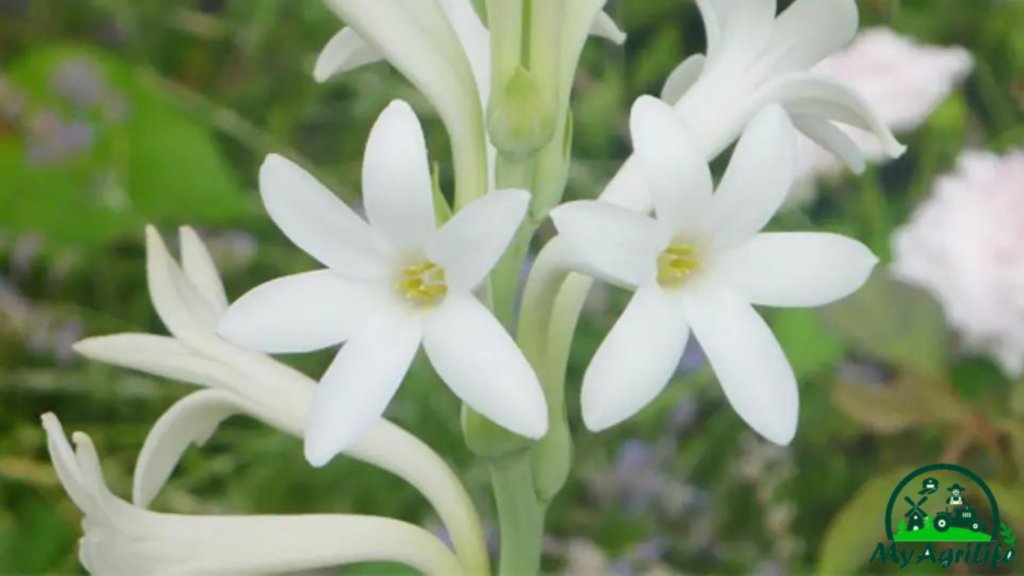
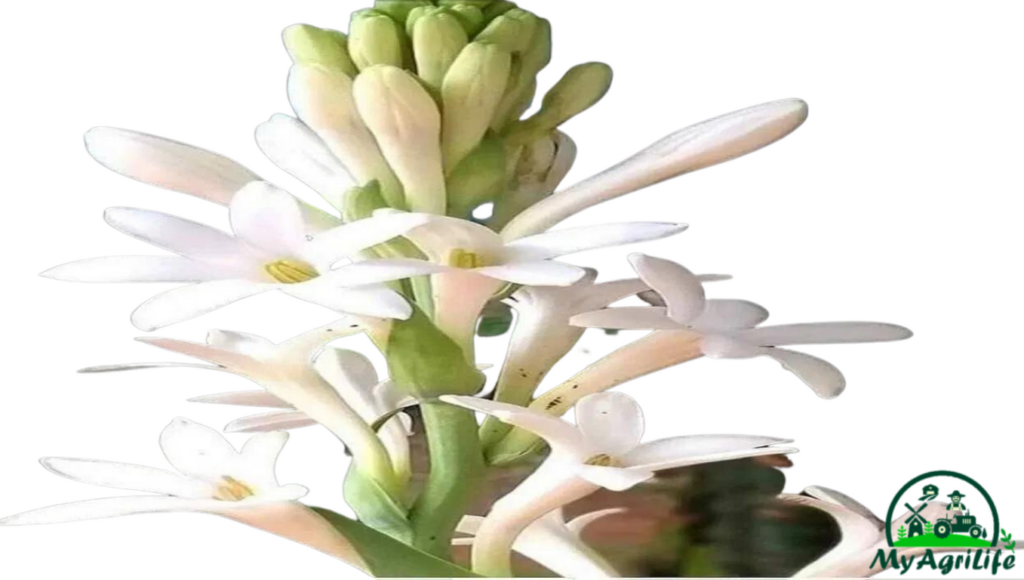
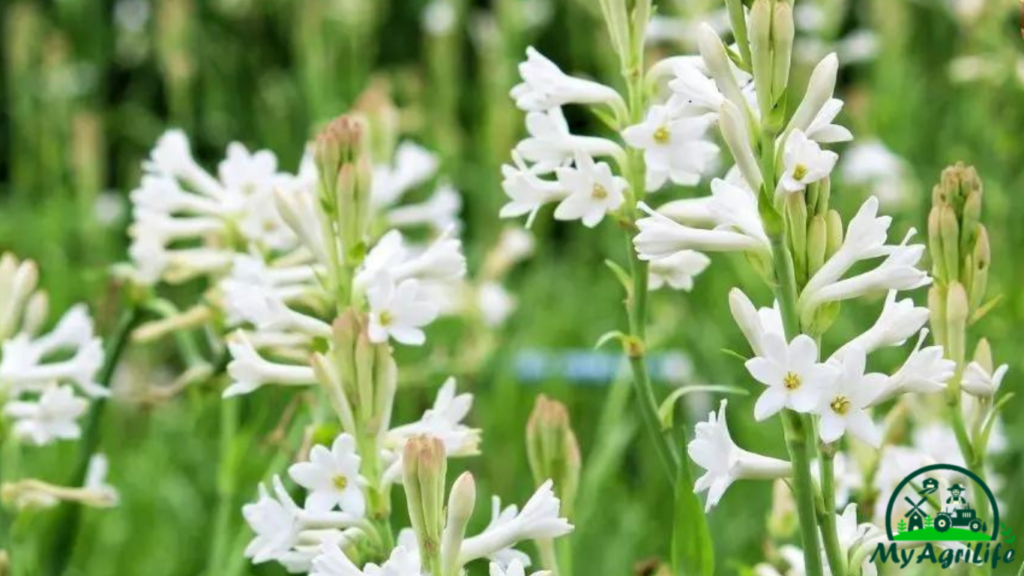
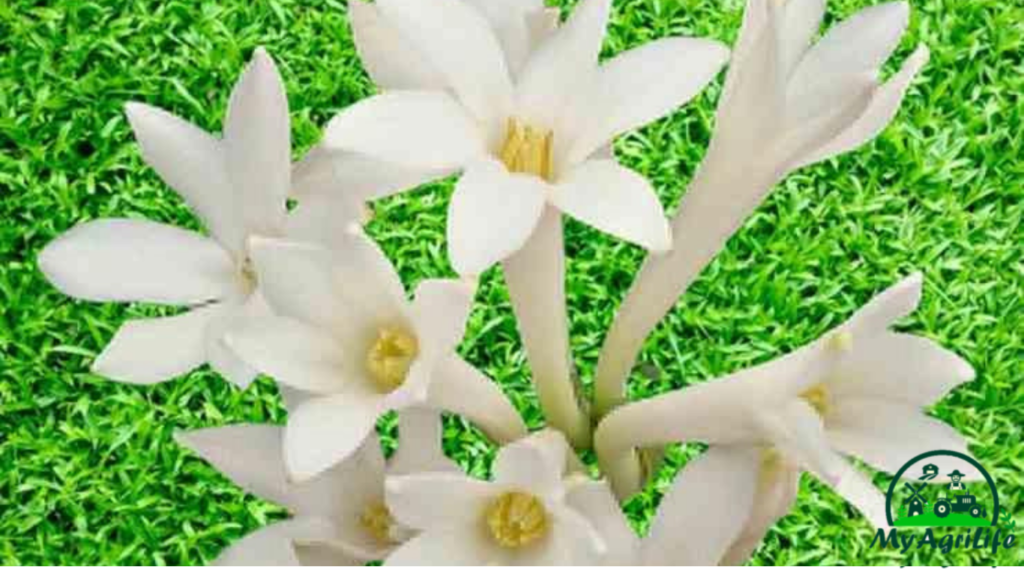
Rajnigandha is a type of flower that is native to South Asia, particularly India and Pakistan. It is scientifically known as Polianthes tuberosa and is also commonly known as tuberose.
The flower has a sweet and heady fragrance, and is often used in perfumes and aromatherapy. In India, it is also commonly used in religious and cultural ceremonies, as well as in garlands and decorations.
Apart from its ornamental and aromatic uses, Rajnigandha is also believed to have medicinal properties. It is said to have anti-inflammatory and sedative effects, and is used in Ayurveda and traditional medicine to treat a range of ailments, including skin conditions, respiratory problems, and anxiety.
Overall, Rajnigandha is a highly valued and popular flower in South Asia, prized for its beauty, fragrance, and medicinal properties.
Seed Specification Rajnigandha
The seeds of Rajnigandha, also known as tuberose, have the following specifications:
1.Size and Shape: The seeds are small, oval-shaped, and somewhat flattened.
2.Color: The seeds are light brown in color.
3.Germination Rate: The germination rate of Rajnigandha seeds can vary depending on the seed source and storage conditions. Generally, the germination rate of fresh seeds is high, but it can decrease over time.
4.Planting Depth: The seeds should be planted at a depth of about 1/4 inch (6mm) in well-drained soil.
5.Temperature: The seeds germinate best in warm soil temperatures, between 70-80°F (21-27°C).
6.Watering: The soil should be kept moist, but not waterlogged, during the germination process.
7.Time to Germination: Rajnigandha seeds typically germinate in 1-2 weeks, depending on the growing conditions.
8.Harvesting: It takes about 4-6 months for the tuberose plants to produce flowers after planting the seeds. The flowers can be harvested when they are fully open, and the seeds can be collected from the dried flower spikes.
Overall, Rajnigandha seeds require warm temperatures, well-drained soil, and consistent moisture to germinate successfully.
Land Preparation & Soil Health Rajnigandha
Land preparation and soil health are important factors to consider when growing Rajnigandha plants. Here are some guidelines for land preparation and soil health for Rajnigandha cultivation:
1.Site selection: Choose a location with full sun exposure and well-drained soil. The soil pH should be between 6.0 and 7.5, which is slightly acidic to slightly alkaline.
2.Soil testing: Conduct a soil test before planting to determine the nutrient content and pH level of the soil. This will help you determine if any amendments are needed to improve soil health.
3.Soil amendment: If the soil is deficient in nutrients, amend it with well-rotted compost, aged manure, or a balanced fertilizer before planting. This will help provide the necessary nutrients for the plants to grow healthy and strong.
4.Tillage: Till the soil to a depth of about 8-10 inches (20-25 cm) to improve soil structure and increase aeration. Remove any rocks, weeds, or debris from the soil.
5.Raised beds: If the soil is poorly drained, consider creating raised beds to improve drainage and prevent waterlogging.
6.Mulching: After planting, apply a layer of organic mulch, such as straw or wood chips, around the plants. This will help retain moisture in the soil, suppress weeds, and improve soil health as it breaks down over time.
7.Crop rotation: Avoid planting Rajnigandha in the same location year after year, as this can lead to soil depletion and pest and disease problems. Instead, rotate the crop with other plants to maintain soil health and fertility.
By following these guidelines, you can ensure that your soil is healthy and your land is prepared for successful Rajnigandha cultivation.
Crop Spray & Fertilizer Specification Rajnigandha
Crop spraying and fertilizer application are important aspects of Rajnigandha cultivation. Here are some guidelines for crop spraying and fertilizer application for Rajnigandha:
1.Crop spraying: Rajnigandha plants are prone to pest and disease problems, such as aphids, spider mites, and fungal diseases. To prevent and manage these issues, use organic or chemical pesticides and fungicides as needed. It is important to follow the label instructions carefully and avoid spraying during hot and sunny conditions.
2.Fertilizer application: Rajnigandha plants require a balanced fertilizer with a ratio of N-P-K of 10-10-10 or 12-12-12. Fertilizer application can be done in three stages:
Pre-planting: Apply 1-2 pounds of fertilizer per 100 square feet of soil before planting.
During growth: Apply 1 pound of fertilizer per 100 square feet of soil every 4-6 weeks during the growing season.
After flowering: Apply 1 pound of fertilizer per 100 square feet of soil after the plants have finished flowering.
3.Foliar feeding: Foliar feeding is a technique where fertilizer is sprayed directly onto the leaves of the plants. This can be done once a month during the growing season using a water-soluble fertilizer with a balanced N-P-K ratio.
4.Organic fertilizers: If you prefer to use organic fertilizers, options include well-rotted compost, aged manure, bone meal, and blood meal. These can be applied in a similar manner as chemical fertilizers.
It is important to note that fertilizer and pesticide application should be done in moderation to avoid over-fertilizing or causing damage to the plants. By following these guidelines, you can ensure that your Rajnigandha plants are healthy and productive.
Weeding & Irrigation Rajnigandha
Weeding and irrigation are important factors to consider when growing Rajnigandha plants. Here are some guidelines for weeding and irrigation for Rajnigandha cultivation:
1.Weeding: Weeds compete with the Rajnigandha plants for nutrients, water, and sunlight. It is important to keep the area around the plants free of weeds. This can be done manually by hand weeding or using a hoe to remove weeds. Mulching around the plants can also help suppress weed growth.
2.Irrigation: Rajnigandha plants require consistent moisture to grow and produce healthy flowers. Irrigation should be done regularly to ensure that the soil remains moist but not waterlogged. The frequency of irrigation will depend on the climate and soil conditions, but typically, the plants should be watered once or twice a week during the growing season. Avoid overhead watering, as this can lead to fungal diseases. Instead, use drip irrigation or water at the base of the plants.
3.Watering schedule: Water the plants early in the morning or in the evening when the temperature is cooler. This will help prevent water evaporation and ensure that the plants have adequate time to absorb the water.
4.Water quality: The quality of the water used for irrigation is important. The water should be clean and free of harmful chemicals and salts that can damage the plants. If the water is high in salt or minerals, consider using a water treatment system or finding an alternative water source.
By following these guidelines for weeding and irrigation, you can ensure that your Rajnigandha plants are healthy and productive.
Harvesting & Storage Rajnigandha
Harvesting and storage are important aspects of Rajnigandha cultivation. Here are some guidelines for harvesting and storage for Rajnigandha:
1.Harvesting: Rajnigandha flowers are typically harvested when they are fully mature and the buds have just started to open. This is typically around 3-4 months after planting. Cut the flower stems about 4-6 inches (10-15 cm) below the flower head using sharp scissors or shears. Avoid harvesting immature flowers or over-mature flowers as they may not have the desired fragrance or color.
2.Timing: Harvest the flowers early in the morning when the flowers are cool and the fragrance is at its strongest. Avoid harvesting during the hottest part of the day or when the flowers are wet.
3.Storage: After harvesting, remove any damaged or discolored flowers and sort them by size and quality. Store the flowers in a cool, dry, and well-ventilated area to prevent moisture buildup and mold growth. You can store the flowers in a cardboard box lined with tissue paper or in a mesh bag.
4.Preservation: If you want to preserve the flowers for longer, you can dry them. Hang the flowers upside down in a well-ventilated area away from direct sunlight. The flowers will dry in 2-3 weeks, and once dry, you can store them in airtight containers.
By following these guidelines for harvesting and storage, you can ensure that your Rajnigandha flowers are of high quality and retain their fragrance and color for longer.
Conclusion
In conclusion, Rajnigandha farming can be a profitable and rewarding venture for farmers. However, it requires careful planning, proper land preparation, soil health management, crop spraying and fertilizer specification, weeding and irrigation management, and appropriate harvesting and storage techniques. Rajnigandha flowers are highly valued for their sweet fragrance, making them a popular choice for perfumes and other fragrance products. By following the best practices for Rajnigandha cultivation, farmers can ensure a high-quality crop that can be sold at a premium price.